Essential Home Recording Equipment for Indie Musicians on a Budget
Why Home Recording Is a Game-Changer for Indie Artists
Home recording has fundamentally shifted what's possible for indie musicians. Where artists once needed to book expensive studio time just to capture a demo, a well-chosen set of budget recording gear can now produce release-quality tracks from a spare bedroom.
That shift isn't just about saving money. It's about creative freedom — the ability to record at 2am when inspiration hits, to experiment without a clock ticking, and to develop your own sound over dozens of iterations rather than a rushed four-hour session. Bedroom pop, lo-fi, and singer-songwriter genres have thrived precisely because their artists learned to work with modest home studio setups and made that intimacy part of the aesthetic.
The realistic expectation: you won't replicate a $5,000-per-day commercial studio on $500. But you can absolutely record, mix, and release music that connects with listeners — and many successful indie acts have done exactly that.
The Audio Interface: Your Studio's Foundation
An audio interface is the single most important piece of hardware in any home studio. It converts analog signals from your microphone or instrument into digital audio your computer can process, and it does the reverse when you monitor through headphones or speakers.
Consumer laptop sound cards simply aren't built for recording. They introduce noise, have poor preamp quality, and create latency problems that make real-time monitoring feel like playing through mud. A dedicated interface solves all three issues.
At the entry level, interfaces in the $100–$180 range — such as the Focusrite Scarlett Solo or the PreSonus AudioBox USB 96 — offer clean preamps, low-latency performance, and at least one XLR/instrument combo input. For most singer-songwriters or bedroom pop artists recording one source at a time, a single-input interface is enough to start. If you're recording a full band or need simultaneous inputs, step up to a two- or four-channel model.
Key specs to look for: **sample rate** (44.1kHz or 48kHz is standard), **bit depth** (24-bit minimum), and **bus-powered** operation so you don't need a separate power adapter. The signal chain starts here — get this right and everything downstream benefits.
Microphones That Won't Break the Bank
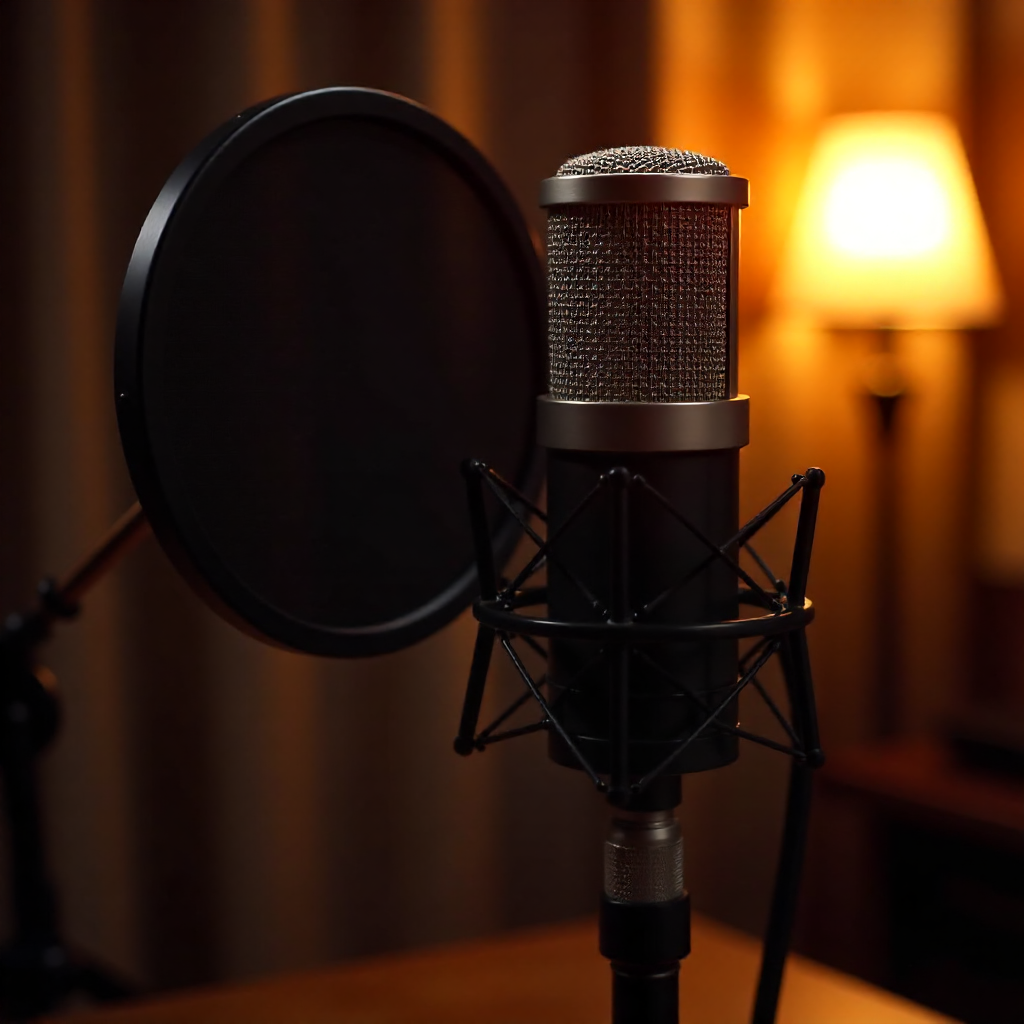
The right microphone depends on what you're recording and how well-treated your room is. Two types dominate home studios: condenser microphones and dynamic microphones, and they behave very differently.
Condenser mics are sensitive and capture a wide frequency range with lots of detail — ideal for vocals, acoustic guitar, and any source where nuance matters. That sensitivity is also their weakness: they pick up room noise, HVAC hum, and reflections. In an untreated space, a condenser can make your recordings sound worse, not better.
Dynamic mics are less sensitive and more forgiving of imperfect rooms. They handle loud sources well and reject off-axis noise, which is why they're standard for live performance. For home recording in a typical bedroom, a dynamic mic like the Shure SM58 or SM7B (the latter sits at a higher price point but remains a home studio staple) can deliver cleaner results than a budget condenser in a reflective room.
If your recording space is reasonably quiet and you've done some basic acoustic treatment, a condenser in the $80–$150 range — the Audio-Technica AT2020 is a reliable benchmark — will serve vocals and acoustic instruments well. Pair it with a quality XLR cable (a $15–$20 cable from a reputable brand is fine; diminishing returns set in quickly above that price).
DAW Software: Your Digital Workspace
A DAW (Digital Audio Workstation) is where your recordings become songs. It's the software environment for recording audio tracks, editing, arranging, adding virtual instruments, and mixing — essentially the entire production workflow happens here.
The good news: you don't need to spend much. Several capable DAWs are either free or come bundled with audio interfaces. GarageBand is free for Mac users and genuinely capable of professional-sounding results. Reaper costs $60 for a personal license and punches well above its price in terms of features and stability. Audacity is free and open-source, though it's better suited to basic recording and editing than full music production.
Paid options like Ableton Live Intro or Logic Pro X (Mac only) offer more depth, but for an indie musician just starting out, GarageBand or Reaper covers everything needed to record, edit, and mix a complete track. The learning curve matters more than the feature list at this stage — pick one DAW and spend time actually learning it rather than switching between options.
Headphones, Monitors, and Listening Accurately
Studio headphones are not the same as consumer headphones. Consumer models — including many popular earbuds and over-ear headphones — are tuned to sound pleasing, which usually means boosted bass and enhanced highs. That's great for listening to music, but it's misleading when you're mixing.
When you mix on hyped headphones, you compensate for the boost you're hearing. The result is a track that sounds thin or dull on other playback systems. Studio headphones aim for a flat, accurate frequency response so what you hear reflects what's actually in the recording.
For home recording on a budget, closed-back headphones serve double duty: they isolate external noise during tracking and provide a reasonable mixing reference. The Sony MDR-7506 and Audio-Technica ATH-M50x are two of the most recommended options in the $100–$150 range and have been industry staples for decades.
Studio monitor speakers offer a better mixing environment than headphones, but they require an acoustically treated room to be useful. In an untreated bedroom, monitors can actually mislead your ears more than a good pair of headphones. Start with headphones, and add monitors later once you've addressed room acoustics.
Acoustic Treatment on a Shoestring
Acoustic treatment reduces the room reflections and standing waves that color your recordings and mislead your mixing decisions. You don't need to cover every wall in expensive foam panels to make a meaningful difference.
The most impactful low-cost approaches:
- Record in a closet full of clothes. Hanging garments absorb high-frequency reflections surprisingly well. Many indie vocalists swear by this method.
- Use heavy curtains and rugs. Hard floors and bare walls are the enemy of a clean recording. Soft furnishings break up reflections without any additional investment.
- Position your microphone carefully. Recording away from parallel walls and corners reduces comb filtering. Even moving a mic a foot in any direction can noticeably change the sound.
- DIY absorption panels. Rockwool or rigid fiberglass insulation wrapped in fabric and mounted in a simple wooden frame costs roughly $30–$50 per panel and outperforms most consumer acoustic foam at the same price.
Acoustic foam tiles have their place, but they primarily address high-frequency reflections. Low-frequency buildup — the boomy, muddy sound common in small rooms — requires thicker, denser materials. This is why a closet full of clothes often sounds better than a room covered in thin foam squares.
Building Your Setup Piece by Piece: A Suggested Priority Order
The smartest approach is to start recording immediately with minimal gear and add equipment as specific problems arise. Here's a practical sequence for building a home studio setup without wasting money:
- First: Audio interface + XLR cable + one microphone. This is the minimum viable setup. Use whatever DAW comes free with your interface or download GarageBand/Reaper. Record with your existing headphones if needed — imperfect monitoring is better than not recording at all.
- Second: Studio headphones. Once you're recording consistently, accurate monitoring becomes the next bottleneck. This is where your mixes start improving.
- Third: Basic acoustic treatment. Address your room's worst problems — a closet session, some rugs, a DIY panel behind your recording position.
- Fourth: A MIDI controller. If you're using virtual instruments or programming beats, even a basic 25-key MIDI controller (available for $50–$80) makes the process far more intuitive than clicking notes into a piano roll.
- Later: Studio monitors, additional microphones, outboard gear. These are meaningful upgrades, but they're not where a beginner's limited budget is best spent.
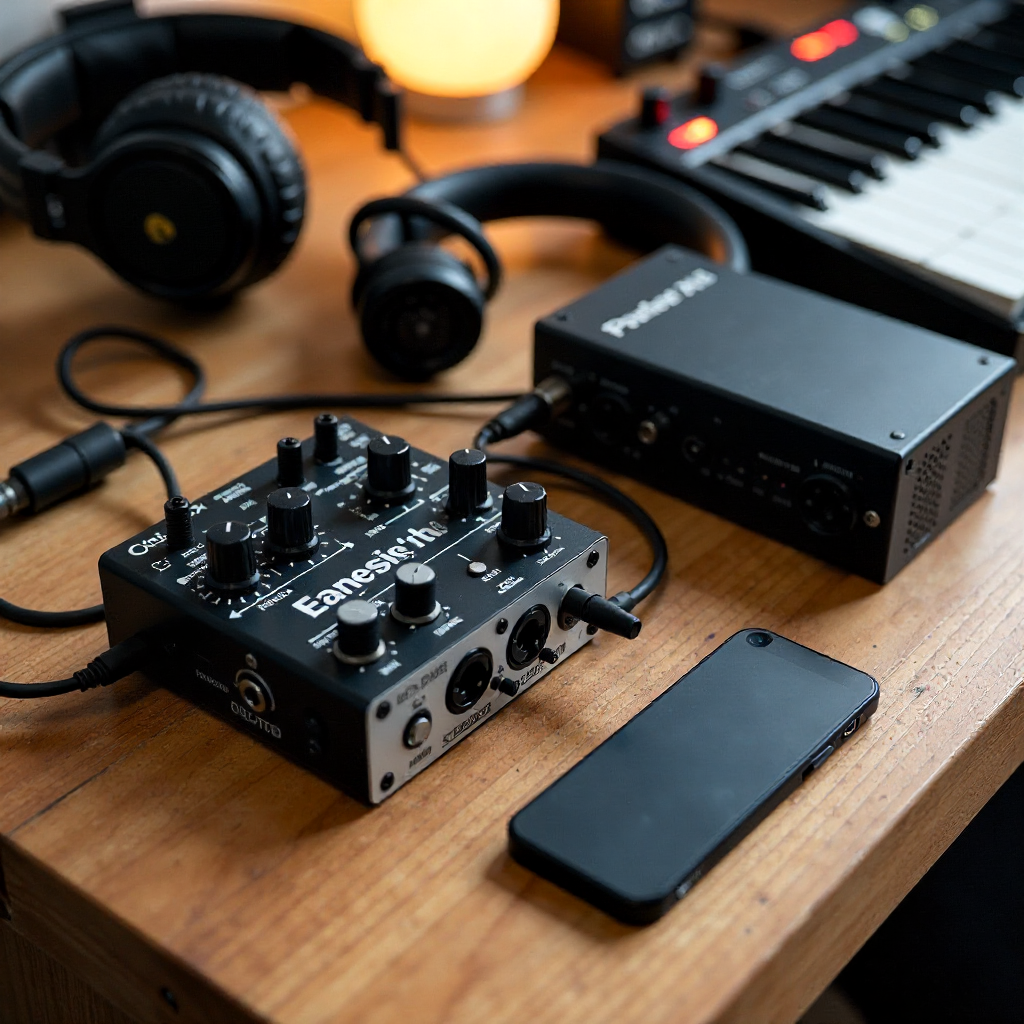
The indie DIY approach has always been about working with what you have. A $400 setup used consistently and creatively will produce better music than $4,000 of gear that sits unused because the barrier to starting felt too high. Buy the minimum, learn it deeply, and let your actual recording problems tell you what to buy next.
Frequently Asked Questions
What is the minimum equipment needed to record a song at home?
At absolute minimum: an audio interface, one microphone, an XLR cable, a pair of headphones, and a DAW. Many free DAWs like GarageBand or Reaper's free trial cover the software side. Total cost for a functional setup can be under $200 if you choose carefully.
Do I need acoustic foam to record at home?
No. Acoustic foam helps, but it's not essential to start. Recording in a closet full of clothes, using heavy curtains, and placing soft furnishings in your recording space can achieve comparable results for free. Foam becomes useful later as a targeted upgrade.
Can I use a laptop I already own for home recording?
Yes, in most cases. Modern laptops handle recording and basic mixing without issue. The key requirement is a USB port for your audio interface. If your laptop is more than 8–10 years old, check that it meets your DAW's minimum system requirements — but most recent machines handle home recording comfortably.
Is a MIDI controller necessary for indie recording?
Not at first. A MIDI controller is a productivity tool, not a fundamental necessity. If your music relies heavily on programmed beats or virtual instruments, it will speed up your workflow significantly. If you're primarily recording live instruments and vocals, it can wait.
What's the difference between a USB mic and an XLR mic with an audio interface?
A USB microphone has a built-in analog-to-digital converter and connects directly to your computer — no interface required. It's simpler to set up and costs less upfront. An XLR microphone requires an audio interface to convert its signal, but gives you better preamp quality, more upgrade flexibility, and the ability to swap microphones without replacing your entire signal chain. For long-term home studio growth, the XLR-plus-interface route is the better investment.