DIY Music Production: Tips for Recording Your First EP
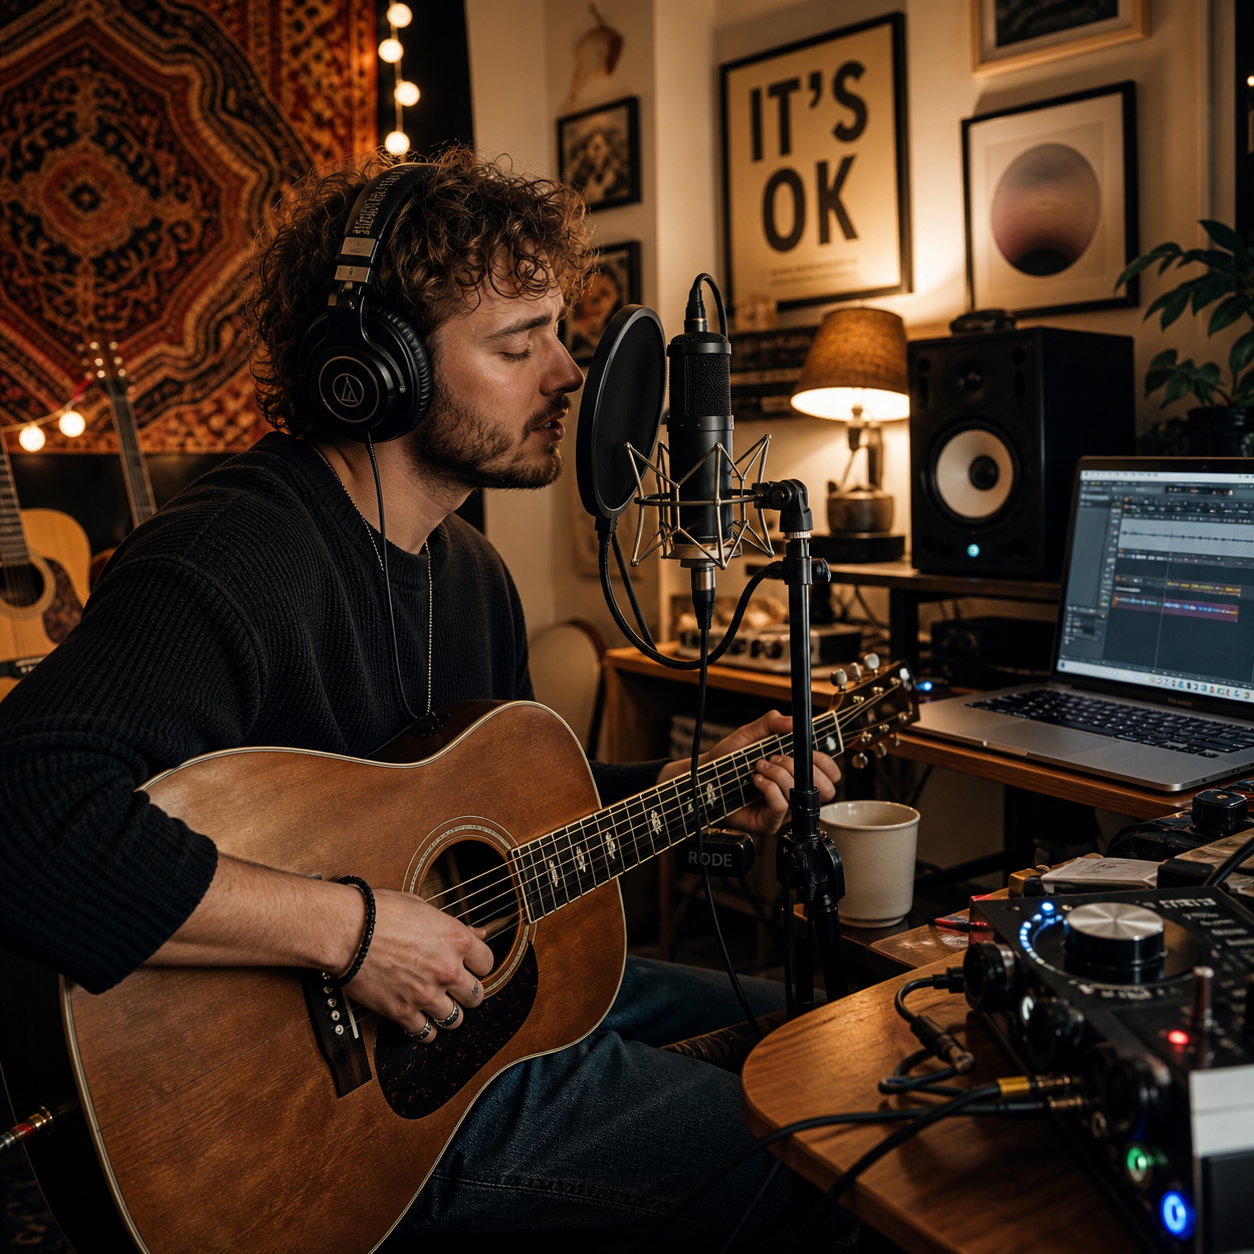
Recording your first EP at home is a creative project, a technical exercise, and a test of decision-making. You do not need an expensive studio to make meaningful music, but you do need a clear plan. Strong songs, repeatable performances, organized sessions, and careful listening will shape the result more than the price of your equipment.
Define Your EP’s Sound, Scope, and Tracklist
Your first EP should have a manageable tracklist, a recognizable sound, and production goals that match your time, skills, and equipment. A focused project is easier to finish and usually feels more cohesive than an ambitious collection of unfinished ideas.
Start by choosing three to six songs that belong together. They might share a lyrical theme, guitar tone, rhythmic approach, vocal character, or emotional arc. A consistent EP does not require every track to sound identical. Instead, give the songs a common center and allow controlled variation around it.
Write a one-sentence creative brief, such as: raw indie songs with intimate vocals, dry drums, and widening guitar textures in the final chorus. Use that sentence when deciding whether a new part, plug-in, or arrangement supports the project.
Set realistic production boundaries
- Choose a fixed number of songs and a target completion date.
- Limit yourself to instruments you can record convincingly.
- Decide which parts need live performance and which can use programmed MIDI.
- Create a shared tempo, tuning, or tonal palette when appropriate.
- Reserve time for editing, mixing, feedback, and revisions.
A useful planning method is the finish-first rule: complete one song through a rough mix before recording the entire EP. This reveals whether your home recording setup, arrangement choices, and workflow are practical. You can then improve the process before repeating it across every track.
Build a Simple Home Recording Setup
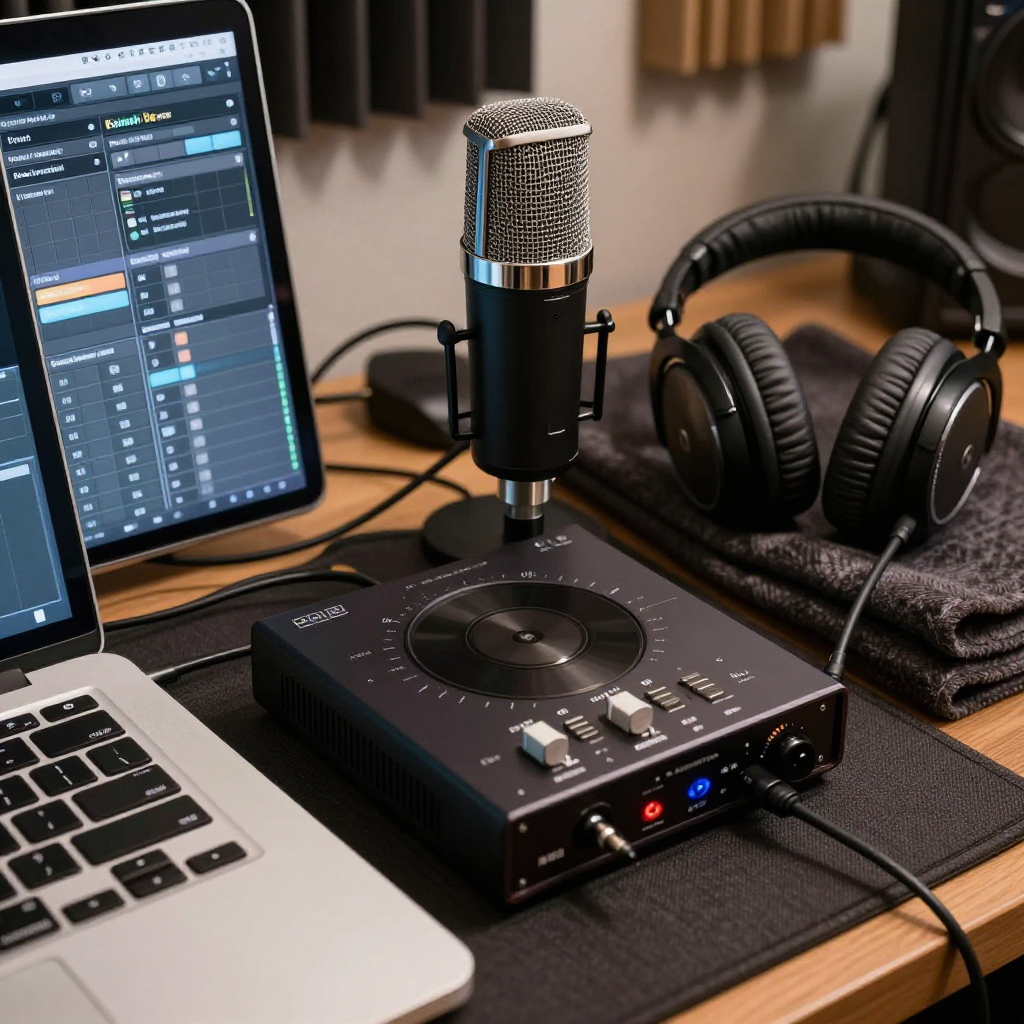
A beginner home recording setup needs a computer, a digital audio workstation, an audio interface, a suitable microphone, headphones, and a reasonably quiet recording space. Studio monitors are helpful, but they are optional at the beginning if you use reliable headphones and check mixes on several playback systems.
Your digital audio workstation (DAW) handles recording, editing, arrangement, mixing, and export. Choose a DAW you can understand rather than the one with the longest feature list. GarageBand, Reaper, Ableton Live, Logic Pro, Cubase, and Studio One can all support an EP workflow. The best choice is the one that lets you record without constantly searching for basic functions.
An audio interface converts microphone and instrument signals into digital audio. Look for stable drivers, a clean preamp, phantom power for condenser microphones, and at least one input that suits your recording needs. A single-input interface can work for solo overdubs; two or more inputs give you greater flexibility for stereo instruments or collaborative sessions.
Choose monitoring and room solutions
A dynamic microphone is often forgiving in untreated rooms, while a condenser microphone can capture more detail but may reveal computer noise, reflections, and traffic. Position the microphone away from walls and hard corners when possible. Hang thick blankets behind or beside the performer to reduce harsh reflections, but do not expect improvised treatment to eliminate every acoustic problem.
Use closed-back headphones while recording to prevent backing tracks from bleeding into the microphone. Studio monitors can improve mixing decisions, but they need sensible placement and a room that does not exaggerate bass. Whatever you use, learn its weaknesses by comparing your mix with familiar commercial recordings at a moderate volume.
Prepare Songs Before Recording
Pre-production is the fastest way to improve an EP because it solves musical problems before they become expensive editing problems. Before recording, confirm each song’s tempo, key, structure, lyrics, chord changes, and intended energy.
Make a simple demo using your phone, a DAW, or a portable recorder. The demo does not need polished tones. It should answer practical questions: Does the chorus arrive soon enough? Is the second verse too long? Does the bridge create contrast? Can the vocalist perform the highest notes consistently?
Build an arrangement map
Write the song structure in bars or time markers:
- Intro: 0:00–0:12
- Verse 1: 0:12–0:38
- Chorus: 0:38–1:04
- Verse 2, chorus, bridge, final chorus, and outro
Mark where instruments enter and leave. A song often becomes clearer when one element is removed rather than when another layer is added. Identify difficult sections early, including rapid lyric passages, exposed vocal lines, tempo changes, guitar transitions, and endings that need coordinated stops.
Record a rehearsal take from start to finish before tracking isolated parts. This exposes stamina issues and helps you decide whether a click track is appropriate. A click improves timing for many arrangements, but some acoustic, punk, folk, and live-band performances benefit from natural tempo movement. Choose based on the song’s character, not habit.
Record Clean, Usable Tracks
To record clean, usable tracks, place the microphone carefully, set conservative input levels, capture several complete takes, and organize every file immediately. A technically imperfect but emotionally convincing performance is often more valuable than a sterile take with no character.
Begin with gain staging. Set the input so normal performance peaks leave comfortable headroom, commonly around -18 dBFS average level with peaks well below 0 dBFS. You do not need to record close to digital full scale. Clipping cannot be repaired cleanly, while a quieter recording can be raised later.
Ask the performer to maintain a stable distance from the microphone. For vocals, start roughly 15–20 centimeters away with a pop filter, then adjust by ear. Moving slightly farther away can reduce plosives and excessive proximity bass. Guitar, drums, and other sources require experimentation, so record short tests and listen before committing.
Protect performances and files
- Warm up and tune before every session.
- Record a few complete takes before focusing on punch-ins.
- Label tracks clearly, such as Lead Vox Verse 1 or Electric Guitar Chorus Double.
- Color-code instruments and group related tracks.
- Save versions after major edits: SongName_Edit01, SongName_Mix02.
- Back up the project to a separate drive or trusted cloud service at the end of each session.
Use editing to support the performance rather than erase its identity. Comping can combine the strongest sections from multiple takes, but excessive pitch correction, timing edits, and quantization can create unnatural phrasing. Keep the original takes muted and available so you can reverse decisions.
Arrange and Mix for Clarity
A clear mix begins with a clear song arrangement: each part needs a role, a frequency space, and an appropriate level. Start with balance and performance choices before reaching for EQ, compression, reverb, or saturation.
Build the mix from the most important element, often the lead vocal or main instrument. Bring in the kick, bass, drums, guitars, keys, and backing vocals one group at a time. Keep asking whether a new layer improves the chorus or simply makes the session louder.
Use a simple mixing sequence
- Balance: Set faders at a moderate monitoring level.
- Pan: Keep essential low-frequency and center elements stable; spread supporting parts to create room.
- EQ: Remove unwanted rumble or harshness before boosting anything.
- Compression: Control uneven dynamics with restrained settings and level-match the result.
- Effects: Add delay and reverb to create depth, then automate them around important lyrics and transitions.
- Automation: Adjust vocal levels, section energy, and instrumental details throughout the song.
Reference listening is more reliable than memory. Compare your mix with two or three suitable tracks, switching at matched loudness. Check mono compatibility, quiet playback, headphones, car speakers, and ordinary consumer earbuds. Choosing detailed monitoring for accuracy means accepting that an untreated room may mislead you, so use multiple listening environments.
Avoid mastering problems by leaving headroom on the stereo bus and resisting the urge to make every rough mix loud. Mixing and mastering are separate stages. Mastering can improve consistency and translation, but it cannot repair a distorted vocal, a weak arrangement, or severe room coloration.
Finish, Review, and Prepare the EP for Release
Finish the EP by completing revisions, checking every song on multiple systems, exporting correctly, and preparing consistent metadata and artwork. The final review should happen after a break, not immediately after a long mixing session.
Print a rough master of each track and listen away from the screen. Write notes using timestamps: vocal disappears at 1:42, snare feels sharp in chorus, or outro ends too abruptly. Make one focused revision pass, then ask two or three trusted listeners specific questions rather than simply asking whether they like it.
Before release, check track order, song titles, artist name, ISRC information if applicable, cover artwork requirements, and file naming. Export uncompressed masters in the format requested by your distributor, commonly 24-bit WAV files with the project sample rate. Do not normalize individual songs casually, and listen to the exported files from beginning to end.
Mastering may be handled with a reputable online service, a mastering engineer, or your own DAW if you understand the limitations. A professional engineer adds an independent perspective, but the cost may not fit every first EP. If you master yourself, compare level-matched versions and prioritize clean transients, consistent loudness, and playback translation over maximum volume. The audio mastering process is best treated as final quality control, not a rescue operation.
Common DIY Production Mistakes to Avoid
The most damaging DIY production mistakes involve weak preparation, poor monitoring habits, unnecessary layers, missing backups, and rushed decisions. Each one consumes time because it hides the real problem until late in the workflow.
Recording before the song is ready
Error: Tracking a full production before confirming the arrangement. People do this because recording feels more exciting than revising. The result can be hours of editing around a chorus that never lifts. Finish a demo and rehearsal take first.
Mixing too loudly
Error: Monitoring at high volume to make a mix feel powerful. Fatigue reduces judgment and encourages excessive bass, treble, and compression. Work mostly at a conversational level, take a five-minute break each hour, and check louder only briefly.
Adding parts to solve arrangement problems
Error: Layering more guitars, effects, and backing vocals when the song lacks contrast. This creates masking and makes the chorus less convincing. Mute tracks during playback; if the song improves, keep them out or reserve them for one section.
Skipping backups and rushing the final review
Error: Keeping one project copy or uploading the first acceptable export. A drive failure can erase days of work, while a rushed review can leave clicks, clipped files, wrong fades, or inconsistent song levels. Use at least two storage locations and schedule a full EP listening session the next day.
DIY EP Production FAQ
What equipment do I need to record my first EP at home?
You need a computer, DAW, audio interface, microphone suited to your source, closed-back headphones, cables, and a quiet recording area. Studio monitors and acoustic treatment can come later.
Should I record all EP tracks at once?
Usually, no. Complete one song through a rough mix first, then refine your workflow. Record the remaining tracks in a planned sequence that protects vocal stamina, instrument continuity, and available time.
How can I make a home recording sound more professional?
Prioritize strong performances, controlled room reflections, conservative gain staging, clean editing, intentional arrangements, and frequent reference listening. Expensive plug-ins cannot compensate for clipped audio or a weak song structure.
Do I need to master my EP myself?
No. You can use a mastering engineer or a reputable automated service. Self-mastering is possible for learning and budget reasons, but independent feedback is valuable because mixing in the same room can hide problems.
How long does it take to produce a DIY EP?
A first EP commonly takes several weeks to several months, depending on the number of songs, instrumentation, recording experience, and revision time. A realistic schedule includes pre-production, recording, editing, mixing, mastering, and at least one full review day.